
Saving your Filters as a View
Saved Views are saved filter combinations that can be shared with your team. This saves you from toggling on filters each time you view the Story Map to get a unique view of what work you want to focus on.
Examples of views might be:
Views per team member
A view of the work that is currently In Progress
A view of work that ladders up to an OKR (Objective Key Result)
Creating a new Saved View
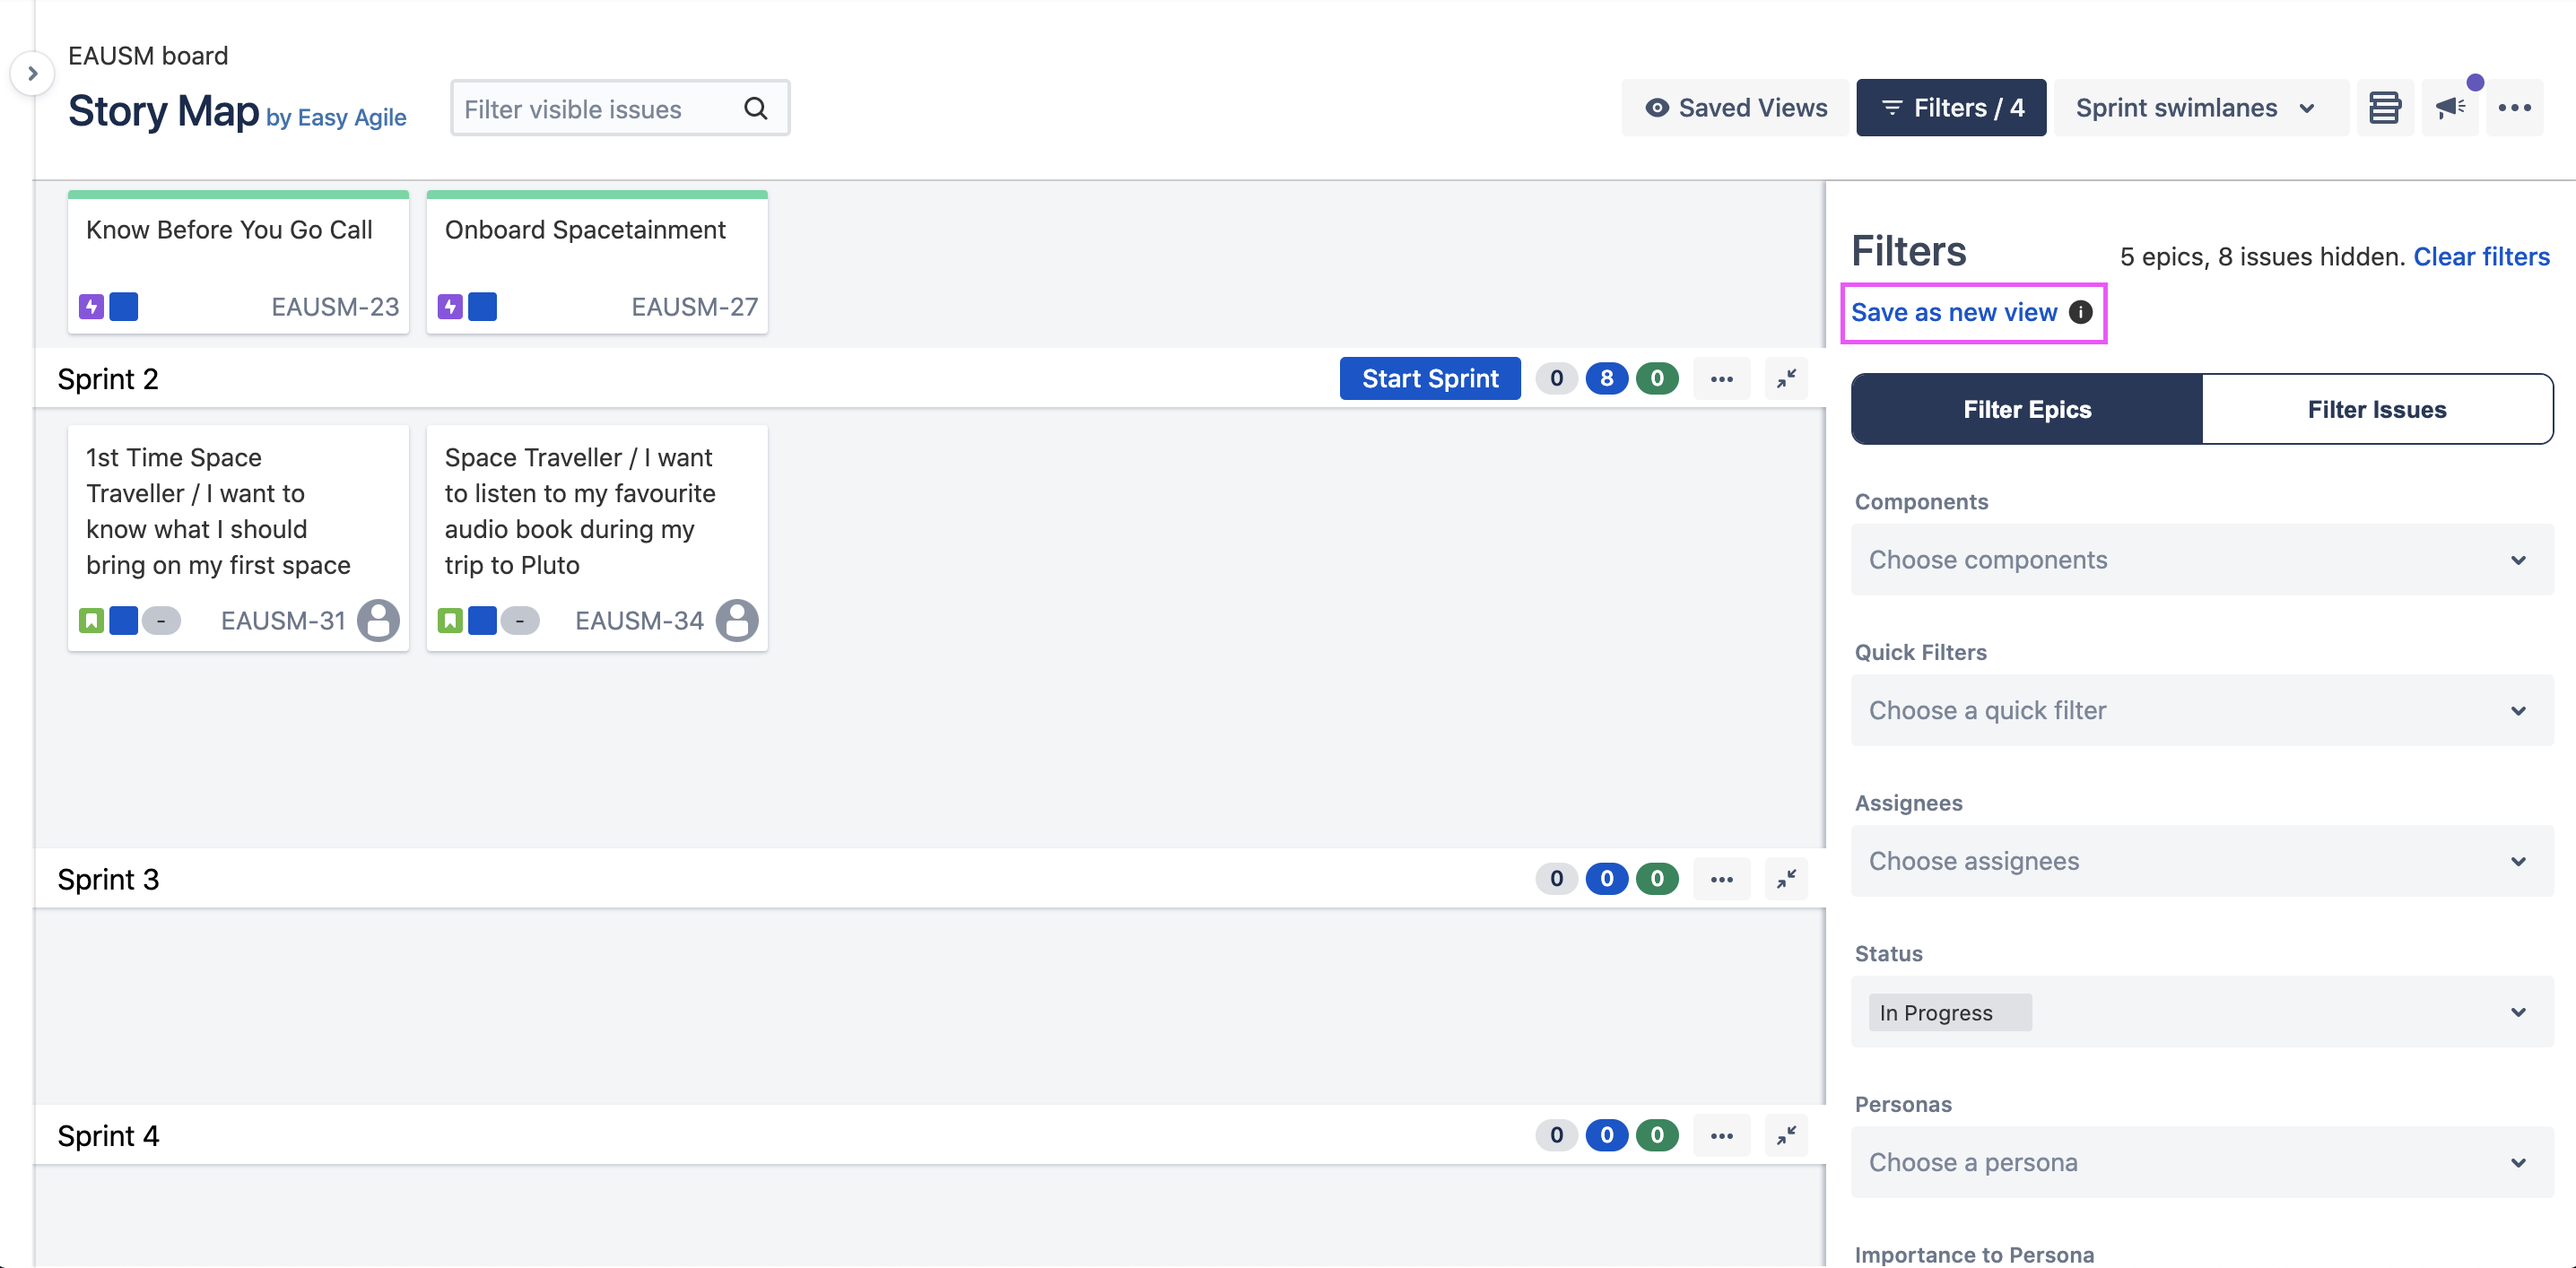
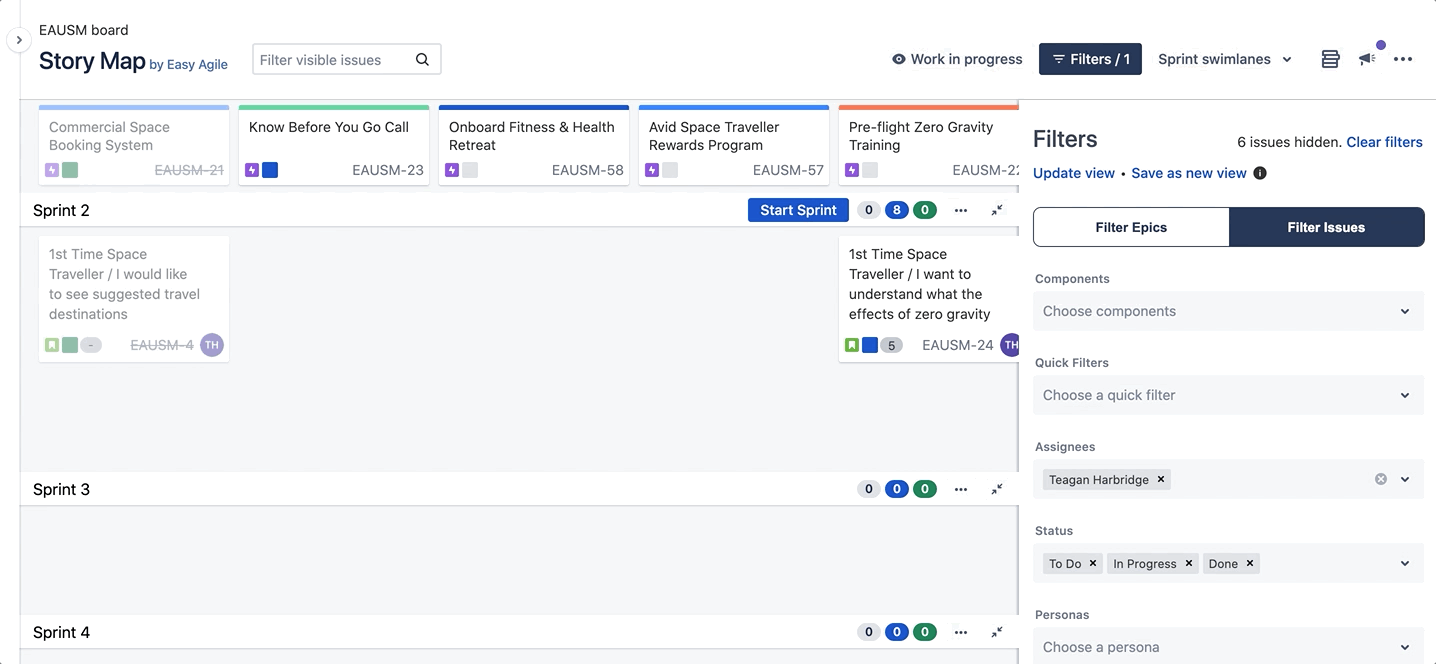
First, toggle on some filters from the Filters drawer. See the above sections to learn how to use filters on the Story Map:
Once you have applied your desired filters, click on Save as new view beneath the Filters heading:
Enter your View Name of your new Saved View and click Save:
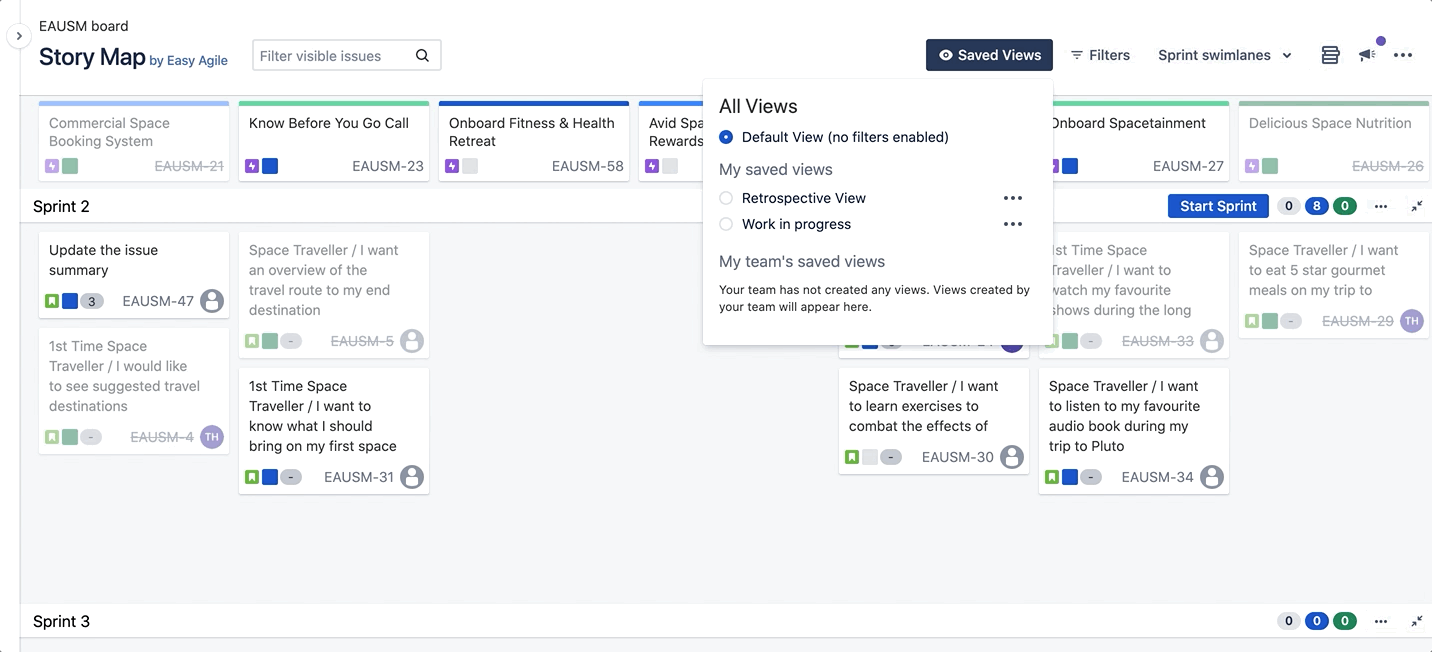
Your new View will be applied to the Story Map. Any views you create on the Story Map will appear under the My saved views heading:
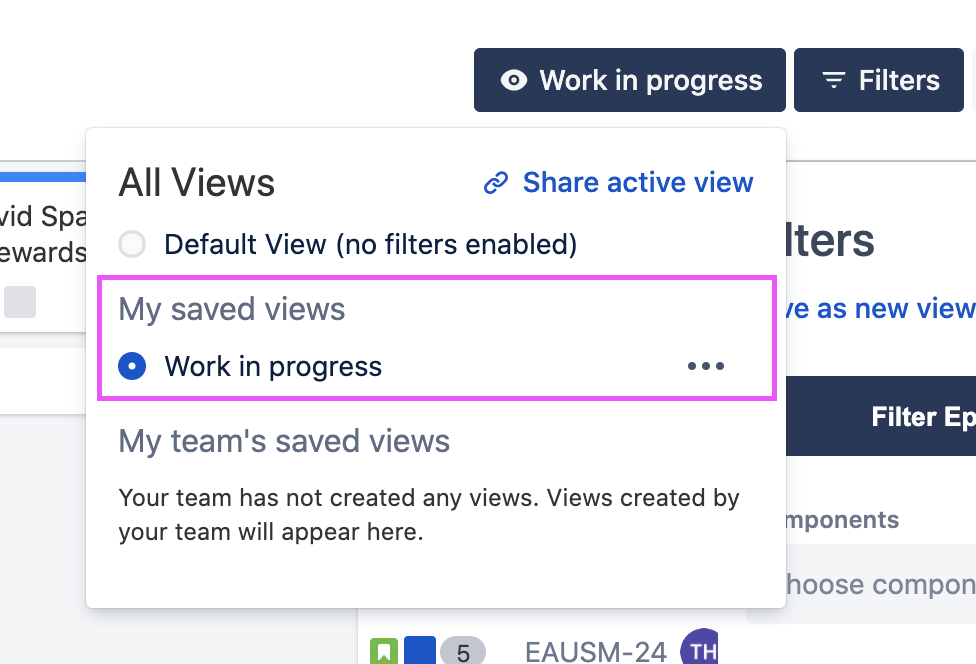
Your team will be able to see and apply your Saved Views to their Story Map. The views you create will appear under the My team’s saved views header for your team mates, and the views they create will be available for you to use and appear under the My team’s saved views header.
Applying a Saved View to your Story Map
To apply a Saved View to your Story Map, click on the Saved Views button in the header and select the radio button next to the view you would like to update, for example: Work in progress:
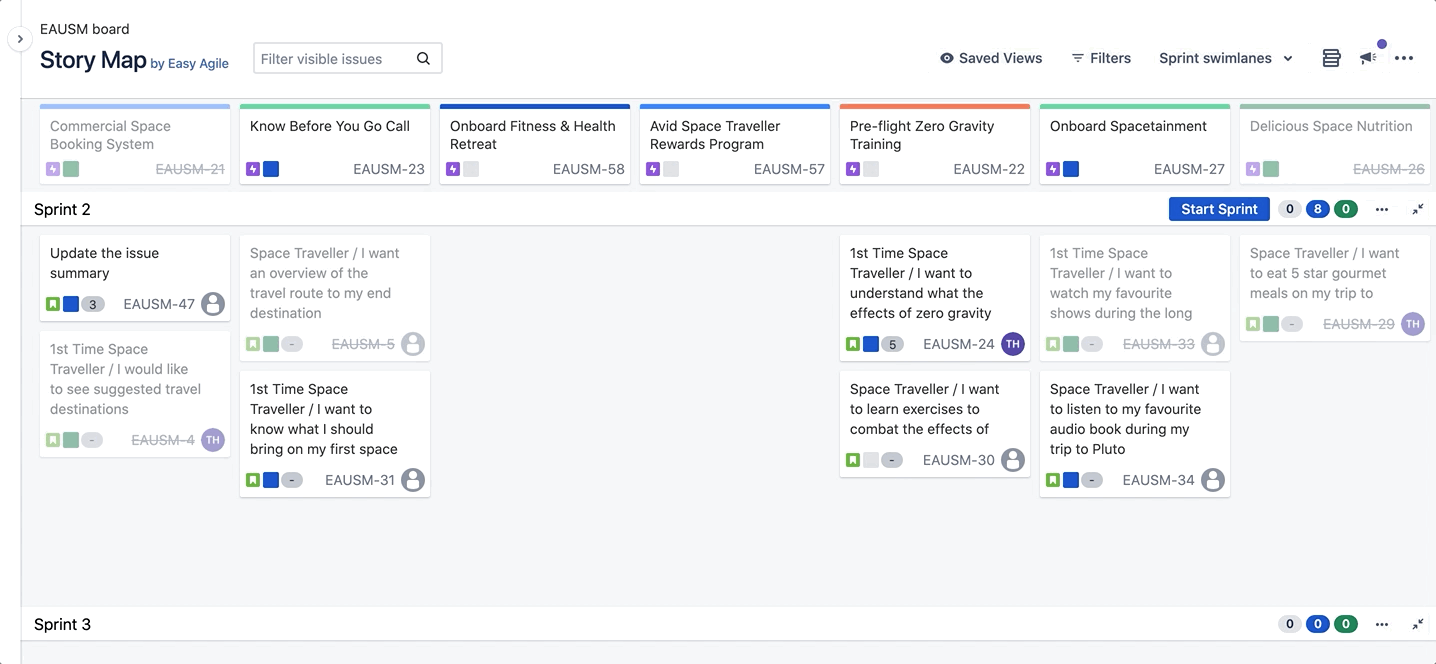
The applied view name will replace the Saved Views text in the button in the Story Map header:
Button without a Saved View applied to the Story Map | Button with a Saved View applied to the Story Map |
 |  |
Updating/Editing a Saved View
To update a Saved View, it must be applied to your Story Map. View the section above to learn how to apply a Saved View to your Story Map.
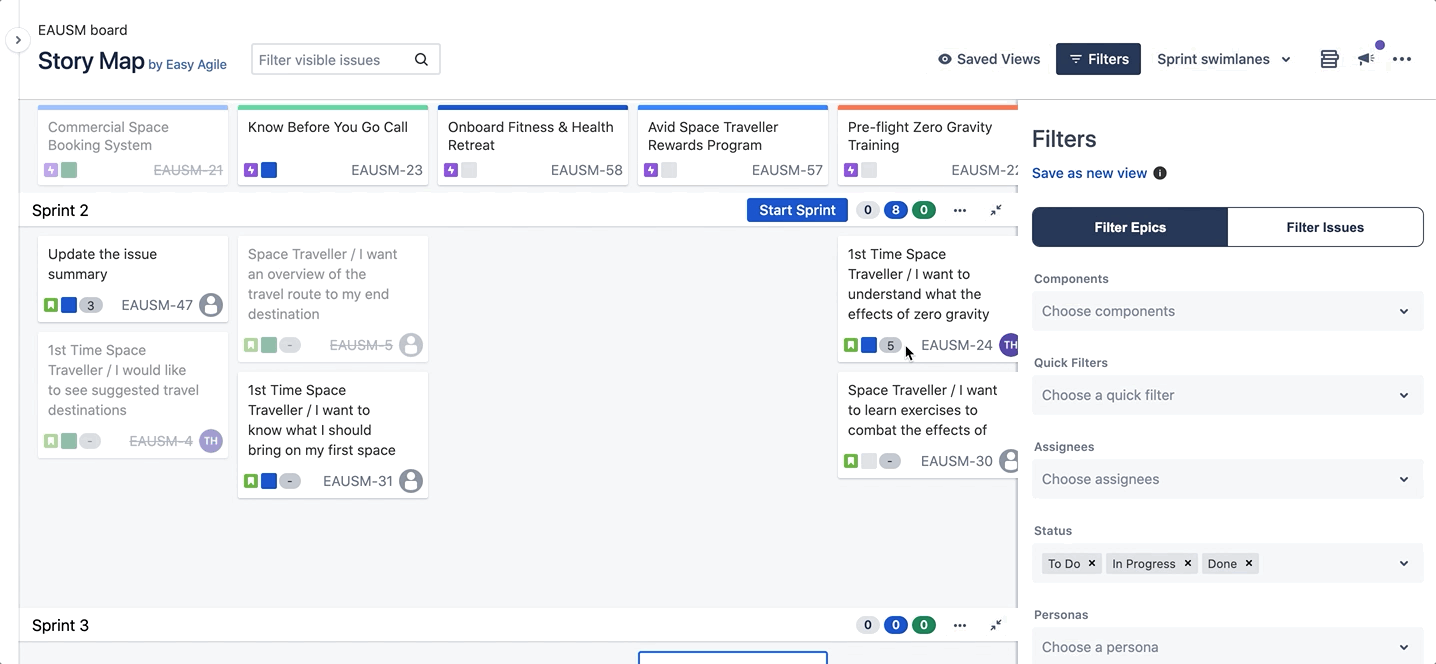
Once the Saved View has been applied to your Story Map, open the Filters drawer and apply your updated filters. Click on Update view under the Filters heading:
Your new filter conditions will be saved to your applied Saved View.
Sharing a Saved View
You can share Saved Views with your team mates in 3 ways:
SHARE ACTIVE VIEW Copy the URL to share the active Saved View | 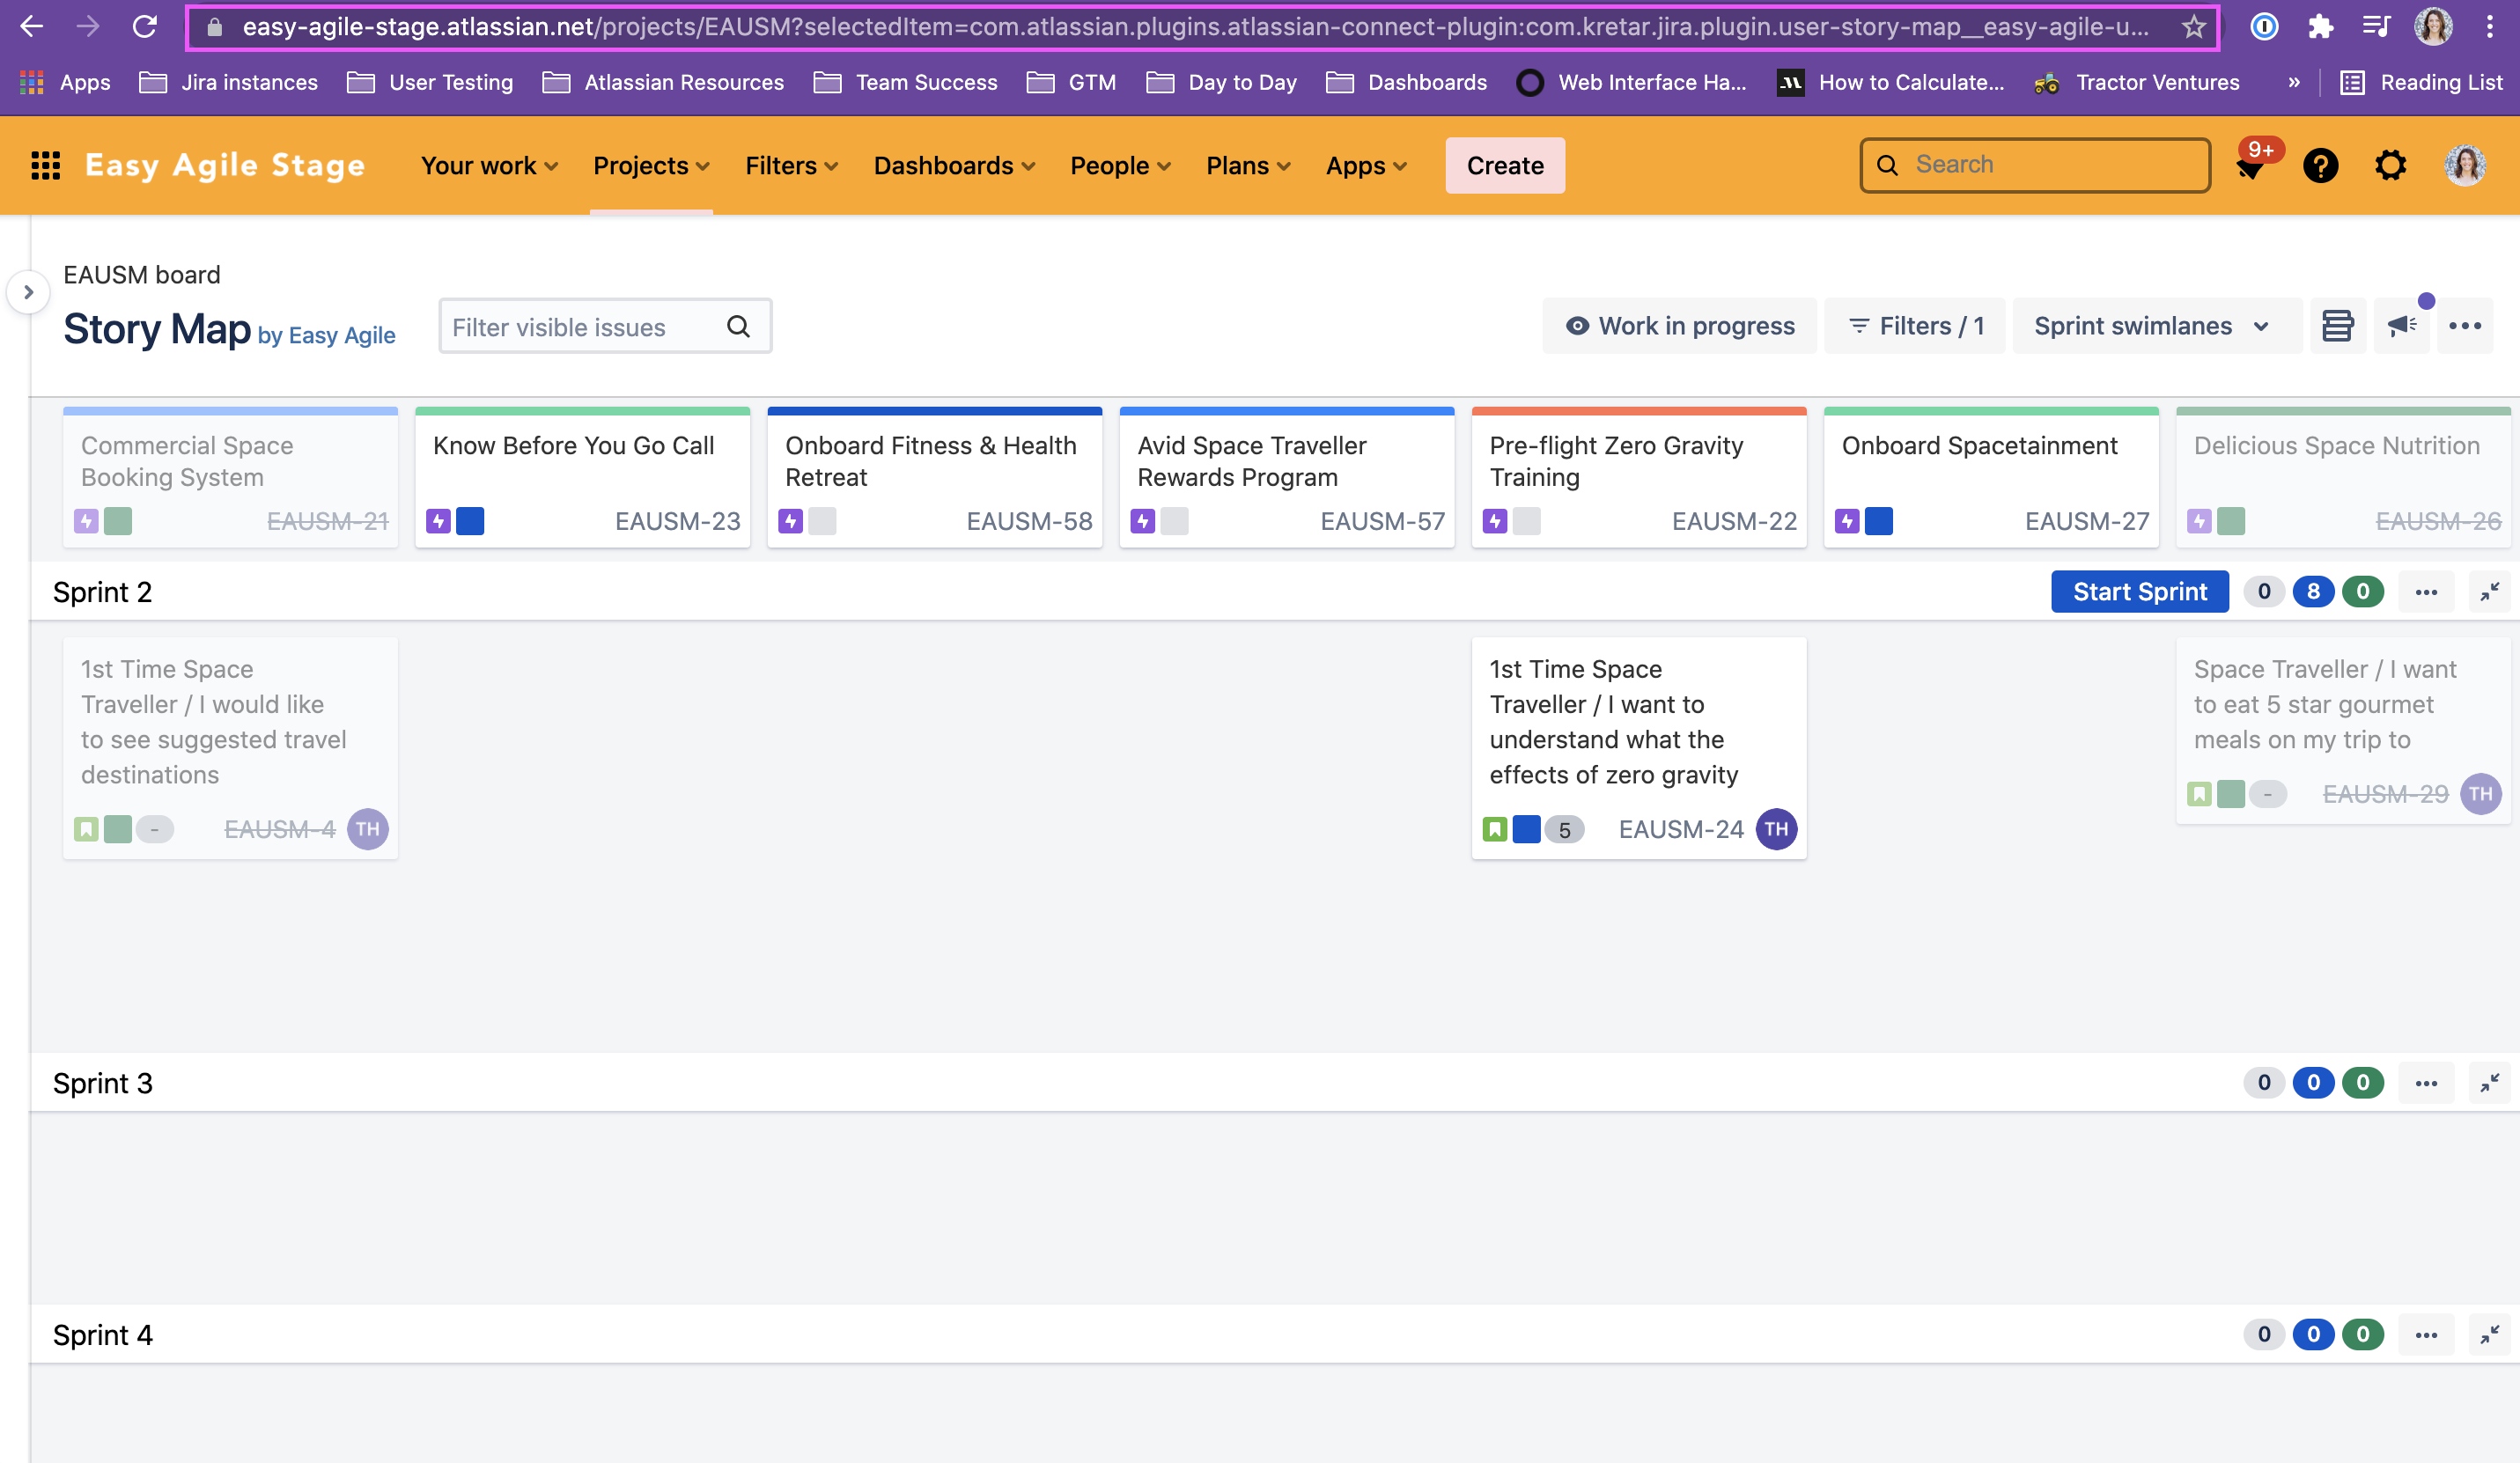 |
SHARE ACTIVE VIEW 🔗 share active view link under the Saved Views menu |  |
SHARE ANY VIEW … menu next to the name of the Saved View you’d like to share |  |
Renaming a Saved View
To rename a Saved View, open the Saved Views menu and click on the … menu next to the name of the View you’d like to update:

Select Rename view from the dropdown, enter your new View Name and hit Save:
Deleting a Saved View
To delete a Saved View, open the Saved Views menu and click on the … menu next to the name of the View you’d like to delete:
Select Delete view from the dropdown, and hit the confirmation Delete button:
