
Viewing and reacting to Retrospective items
Now that your team has added their thoughts, use the Retrospective to find the topics to discuss.
Group items about the same topic or theme
Comment on items to add context
Add votes or emoji reactions to highlight important topics
Use categories to track common themes across columns and sessions
Sort or filter items from the Focus menu
Group items
Create and manage a group
Find the “Add group” button at the top of a column (except the Action column).
To create a group, you’ll only need to provide a name for it. You can change this later.
The group will only live in that column; groups can’t span across columns of a Retrospective.
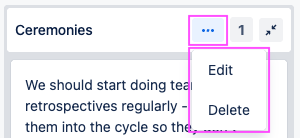
Use the “…” menu to:
Edit the group name
Delete the group (items in the group will not be deleted)
Add items to a group
Add existing items to a group using drag and drop:
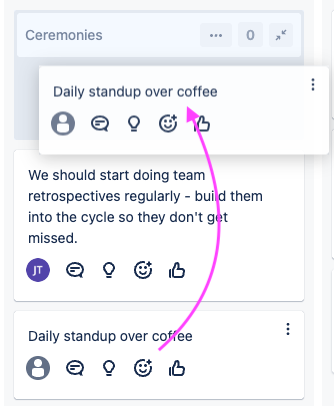
Create new items directly in the group:
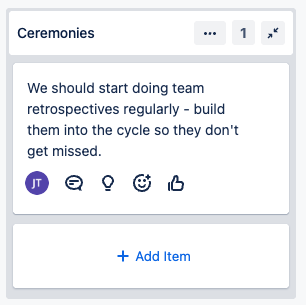
Expand/collapse a group with the button in the top right-hand corner:
Comment on items
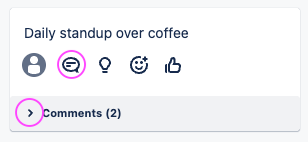
Add a comment to any item (other than an Action item) with the 🗨️ “Comment” button.
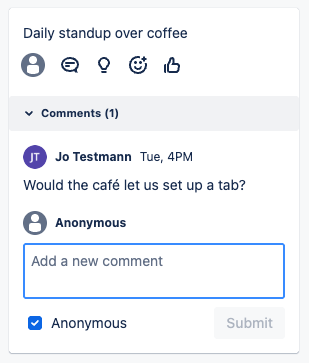
Comments will be collapsed at the bottom of an item by default. Click on the the arrow to expand or collapse the section.
You can choose to add comments anonymously.
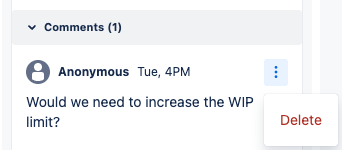
You can delete your own comments (including any created anonymously).
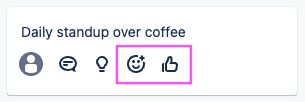
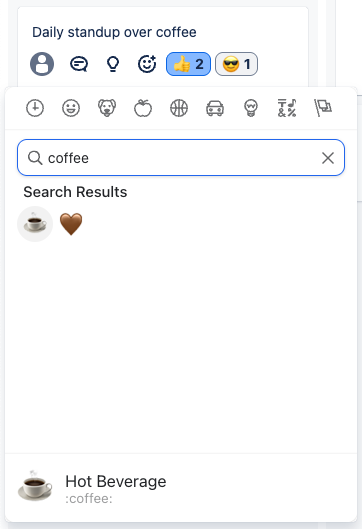
Vote or react on an item
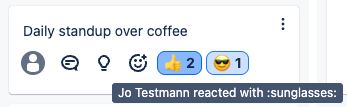
Vote on items with a thumbs-up, or choose an emoji reaction.
Hover over reactions to see the display name of everyone who added that reaction.
Open the “Focus” menu to sort by reactions: items with the highest number of reactions will be displayed first.
React to the sprint or work as a whole with the Mood Survey.
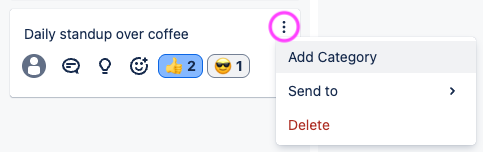
Categorise items
Use categories to “tag” items with common themes across columns and sessions
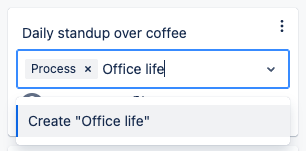
Find the “Add Category” button in the “…” menu or by right-clicking on an item:
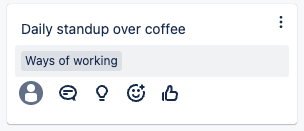
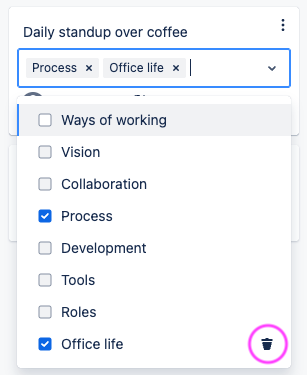
If an item already has one or more categories, click on or next the existing ones to add another.
Add custom categories to use for Retrospectives on this Jira board.
Delete a custom category from the dropdown to remove it from all Retrospective items on this Jira board.
Open the “Focus” menu to filter by category.
Sort and filter
Open the “Focus” menu from the top center of the app to find sorting and filtering options.
Sort by:
Created time: oldest first
Reactions: items with the highest number of reactions first
Creator: alphabetically by display name, with anonymously-submitted items last
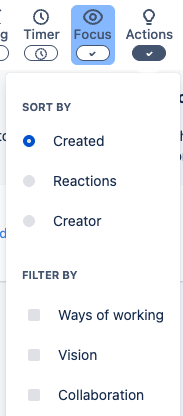
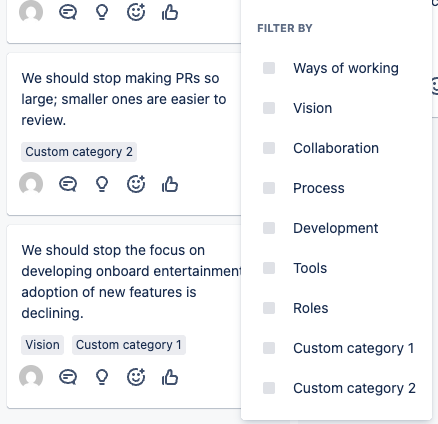
Filter by categories. This includes:
The default 6 categories
Any custom categories applied to Retrospective items on this Jira board
Select categories to show only items with those categories applied.
Sort and filter options will only impact your view of the Retrospective page, not what others see.
The app will remember your settings in this web browser.