
Open Edit setup on the retrospective toolbar to configure a retrospective: rename it, change the template, add or remove columns, add colours, and control actions, mood survey, and permissions.

On older Data Center versions, use the Bling menu instead - see the end of this page for more details.
How editing works
Changes you make in Edit setup are staged and shown in a live preview as you go. Nothing is applied until you select Save changes. Selecting Cancel discards everything you've changed.
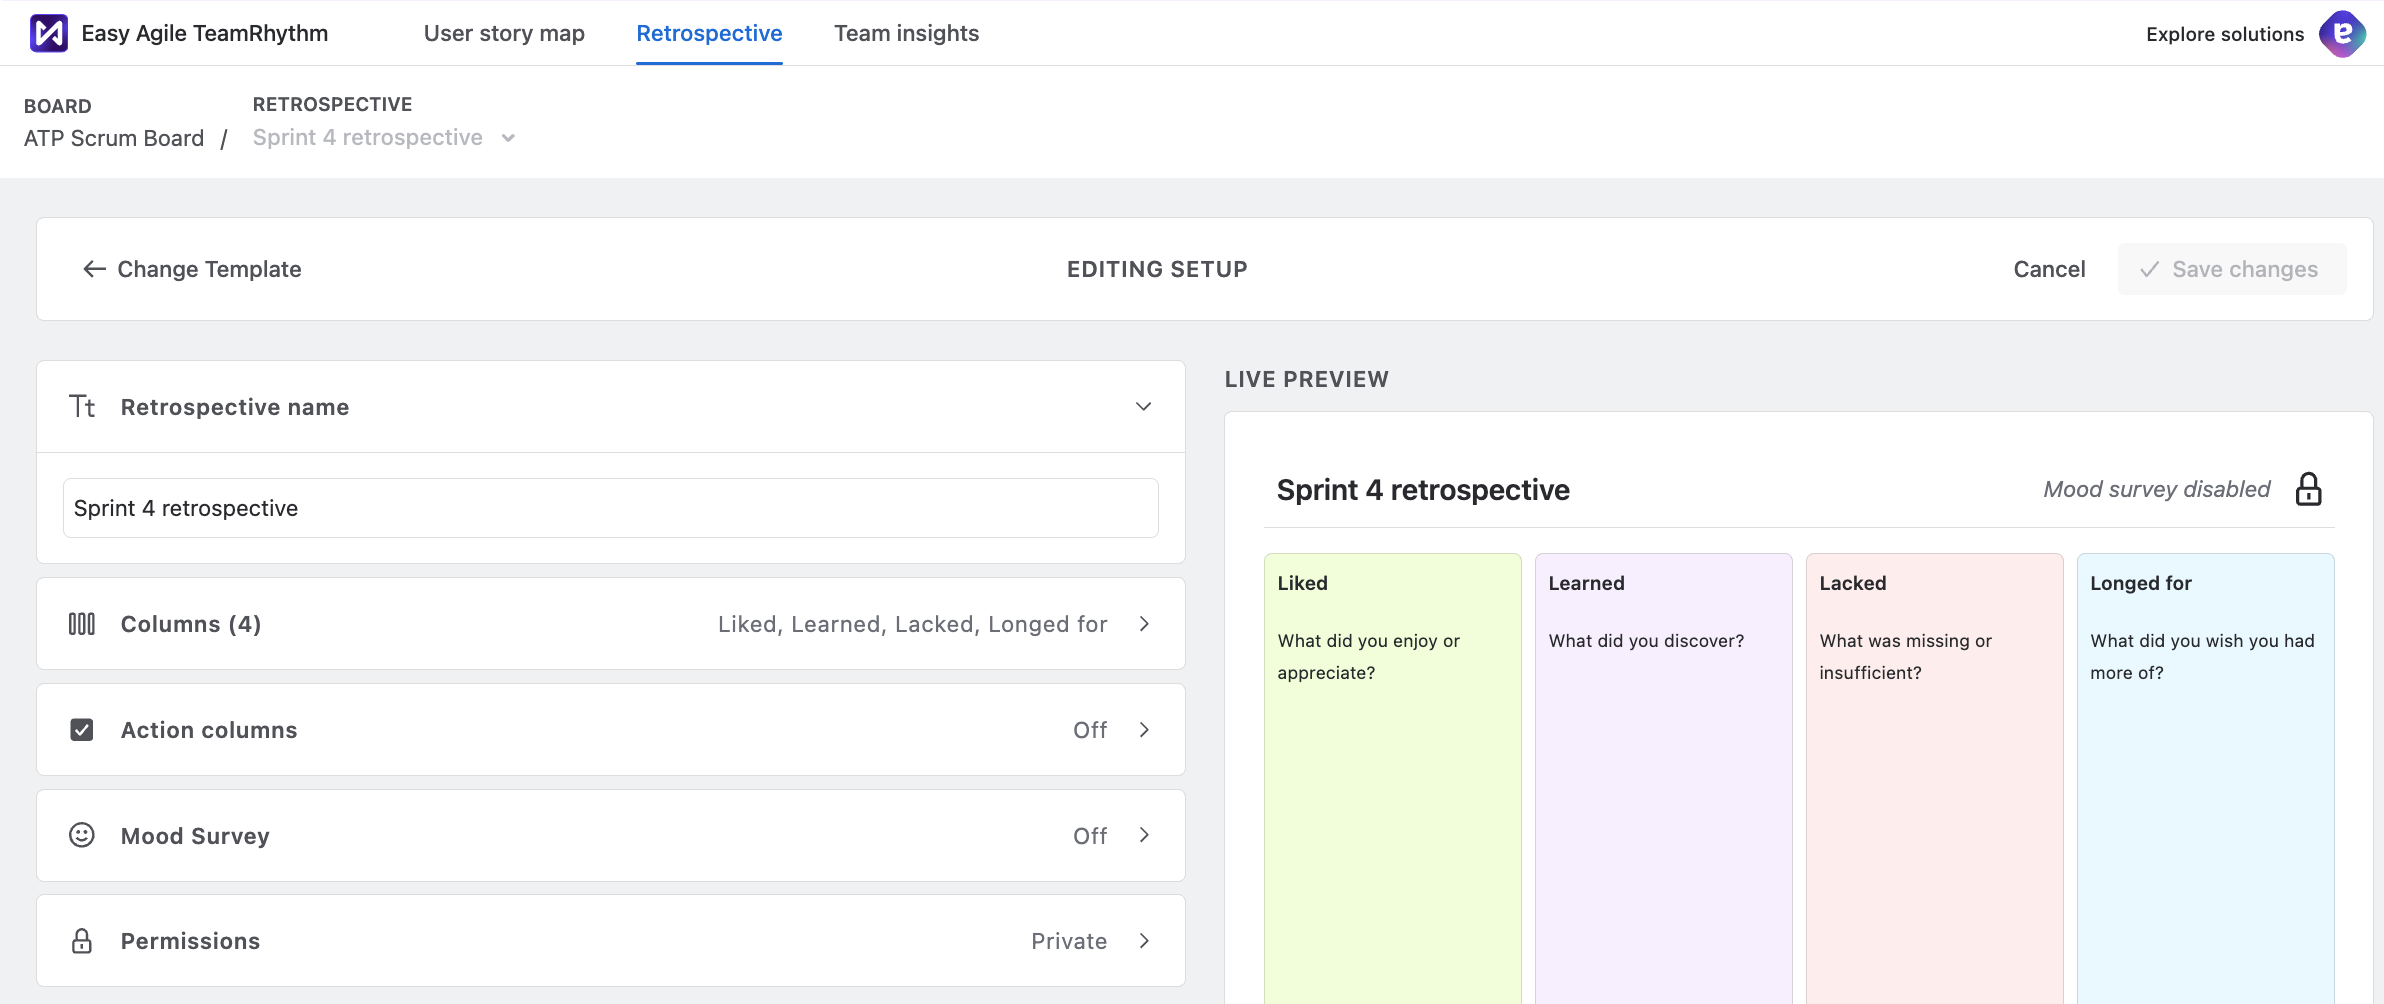
Renaming the retrospective
Edit the retrospective's name at the top of the Edit setup screen.

Choosing a template
You can choose a template when you first create a retrospective, or when you're editing an existing one. See Retrospective templates for more details.
New Retrospectives created on this board will copy the template and set up from the most recent Retrospective.
.png?cb=801111d69f82dca0c30b2eee78e53ad9)
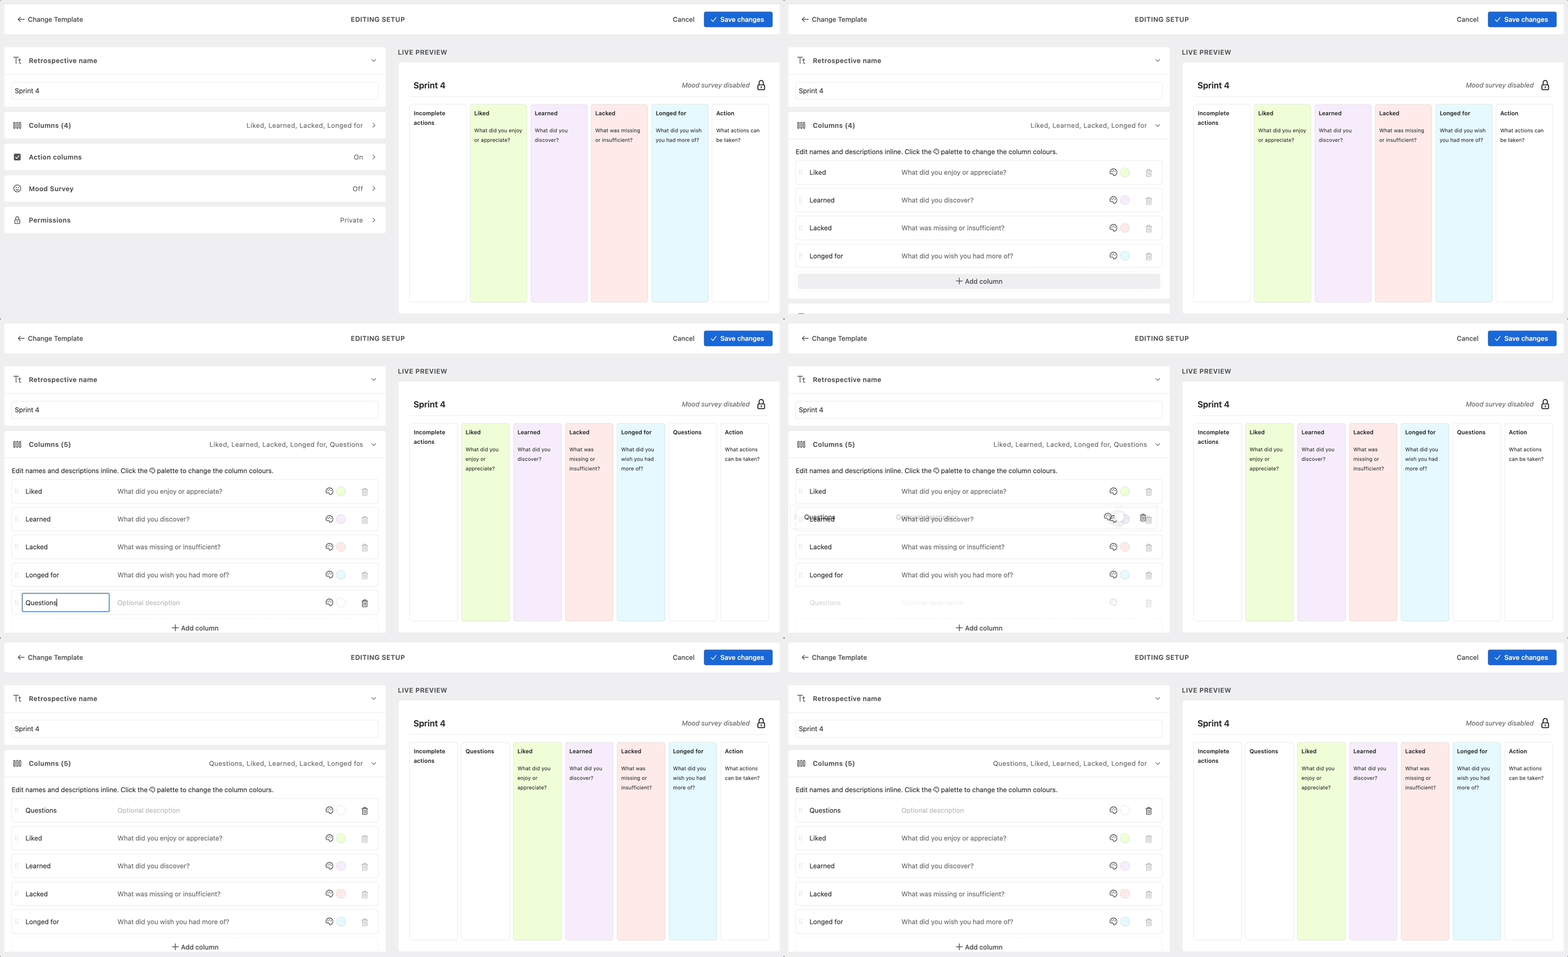
Adding, removing, and reordering columns
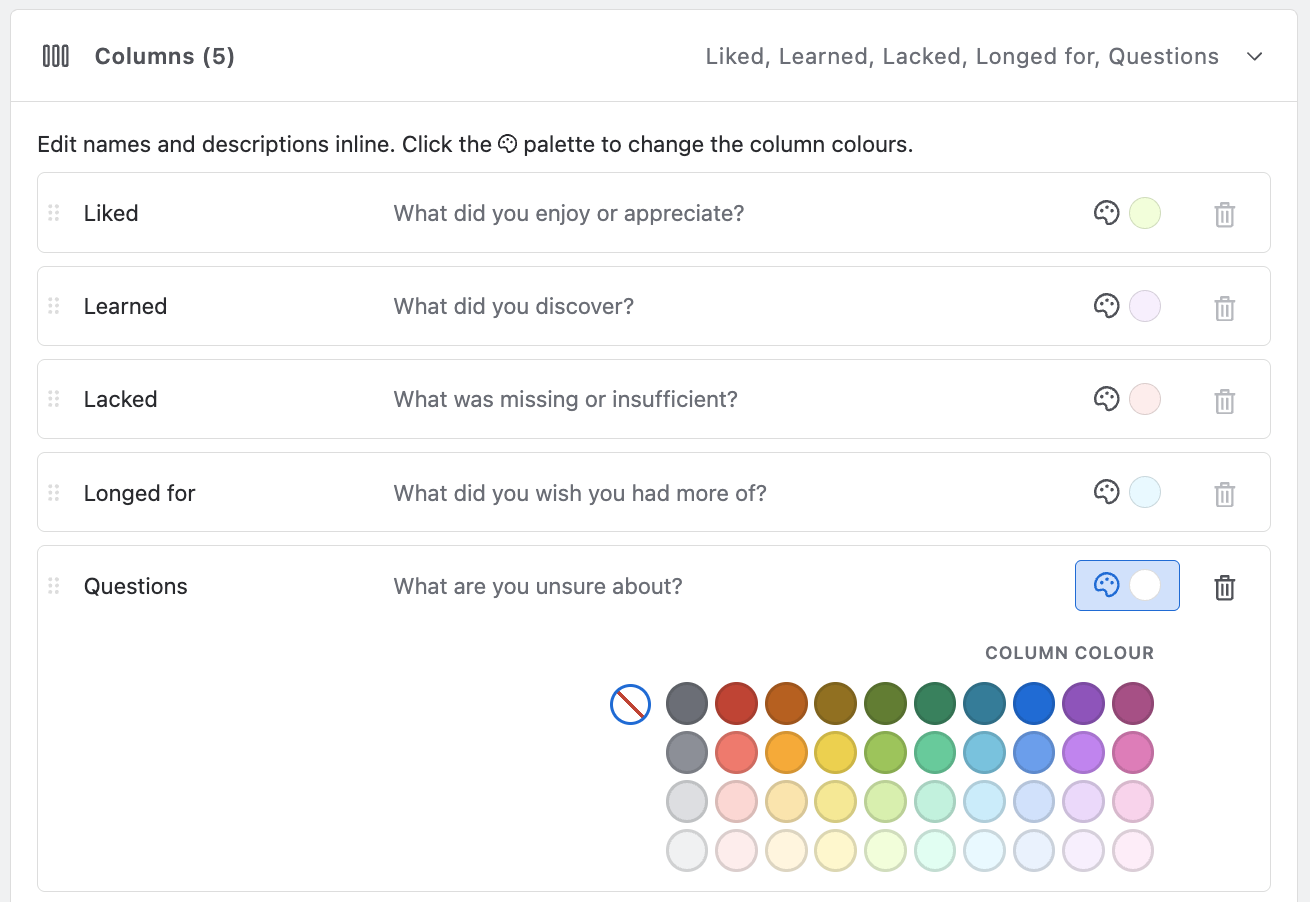
Click ‘add column’ to insert a new one into your retrospective.
Remove a column when you no longer need it using the bin icon 🗑️. A column that already contains items can't be removed.
Reorder columns by dragging them into a new position.
At least one column is always required.
Renaming a column
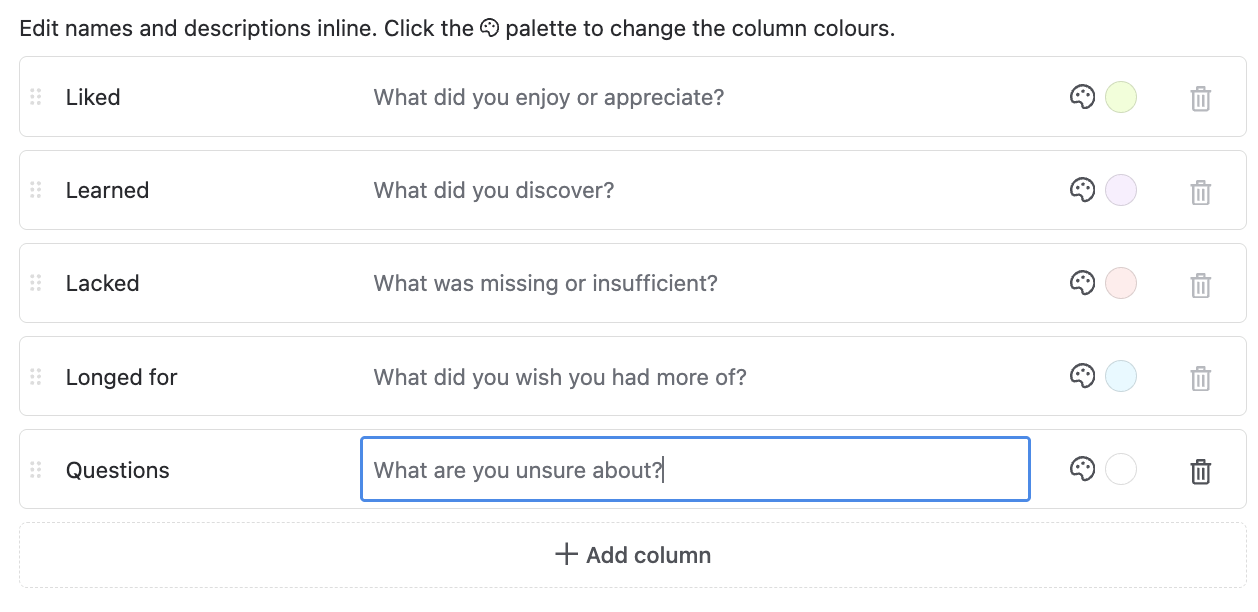
Edit the title and description of any column, including the Actions column.
This is useful if your team's first language isn't English, or if you use different terminology for tracking follow-up work.
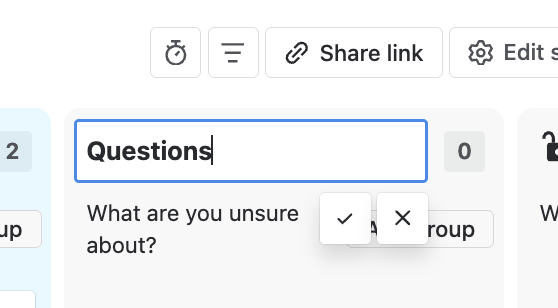
You can also edit the column name and description inline from the retrospective board.
Colouring a column
Select a colour from the palette to give a column its own background.
This replaces the background images from previous versions of the app. If you’d like other options like images, please send a request through to our Product team.
Showing or hiding the Actions column
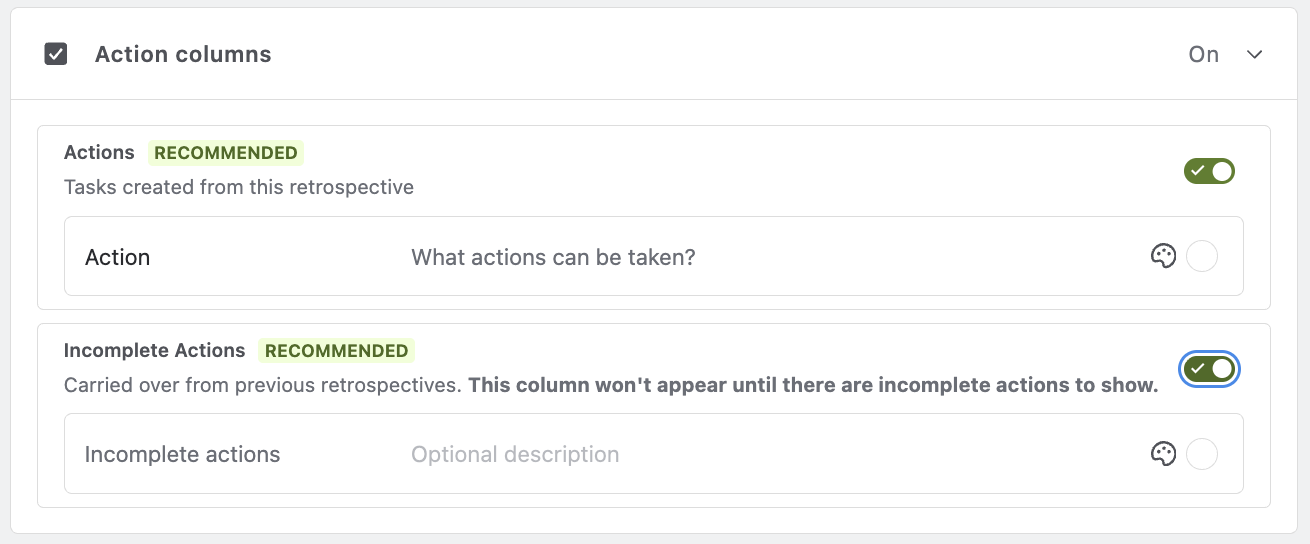
You can turn the Actions column on or off to suit your team.
Hiding the Actions column also hides the Incomplete actions column carried over from previous retrospectives.
Even when toggled on, the incomplete actions column won't show on your retrospective board until there are incomplete actions from a previous retrospective.
See Turning retrospective insights into Actions for how Actions work.
Mood survey and permissions
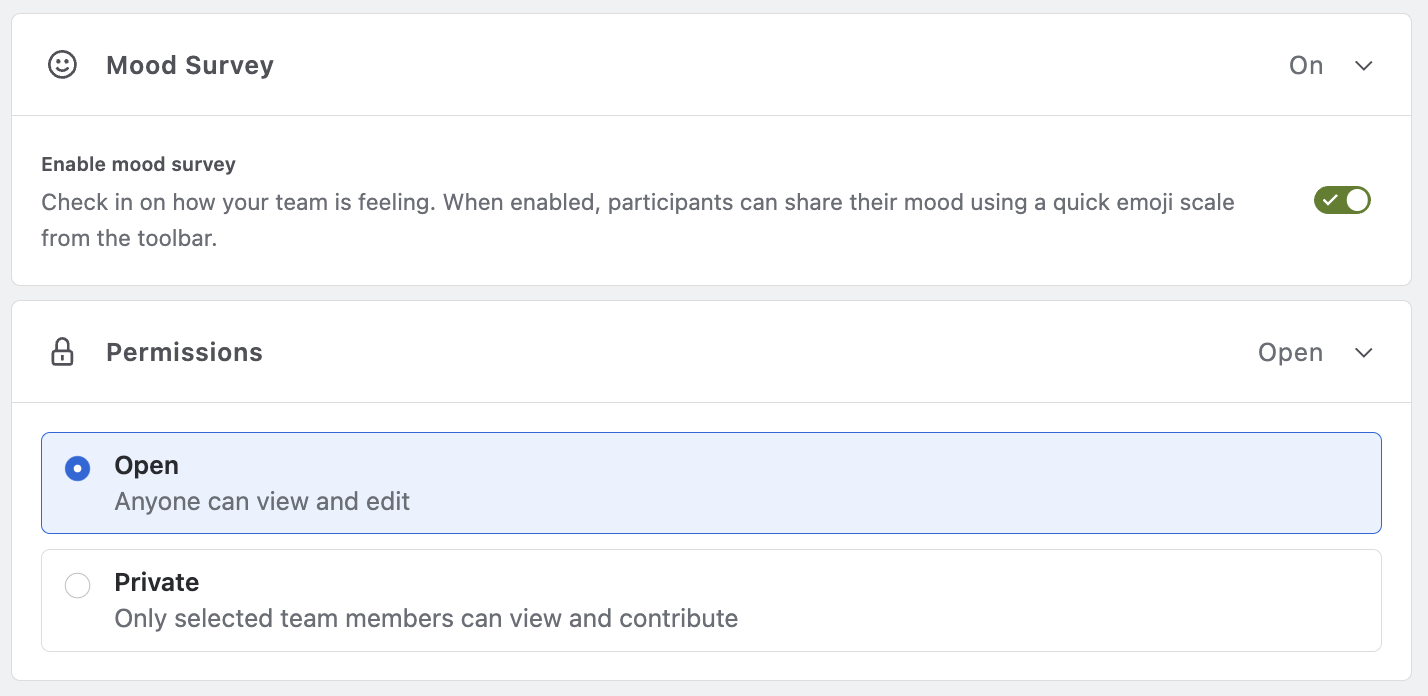
Turn the mood survey on or off, and choose whether the retrospective is open or private, from the same Edit setup screen.
See Mood Survey and Private Retrospectives for details.
Saving your setup as a template
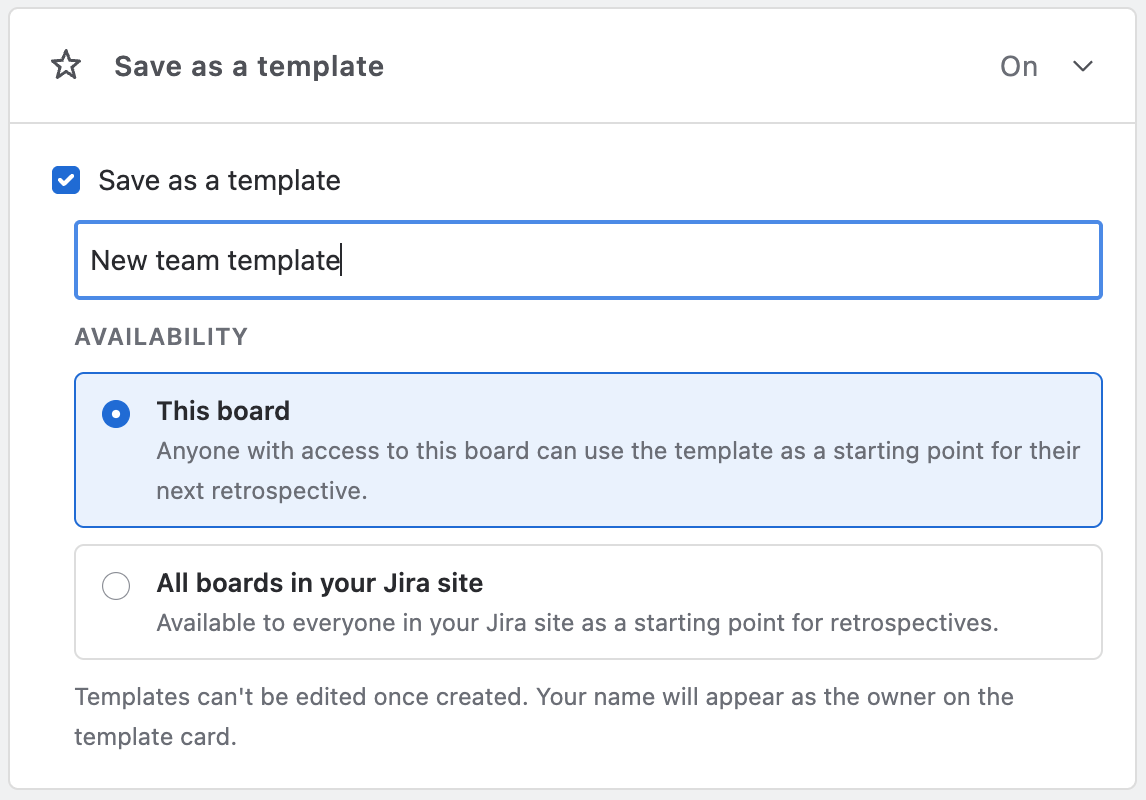
Select the Save as a template checkbox to save the setup you've just built as a Team template, so your team can reuse it in the future.
You'll be asked for a template name, and whether the template should be available to this board only or to all boards in your Jira site.
See Creating your own retrospective templates for details.
Data Center versions with Bling menu option
For older versions of Data Center, use the Bling menu to change columns and templates.
Editing column text
Click to edit the title or description of a Retrospective column.
The Action column can’t be edited on earlier versions of Data Center. Learn more about Retrospective actions.
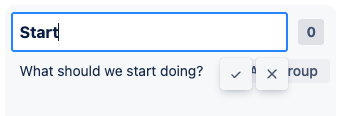
Alternatively, use a pre-made Template to quickly try a different Retrospective style.
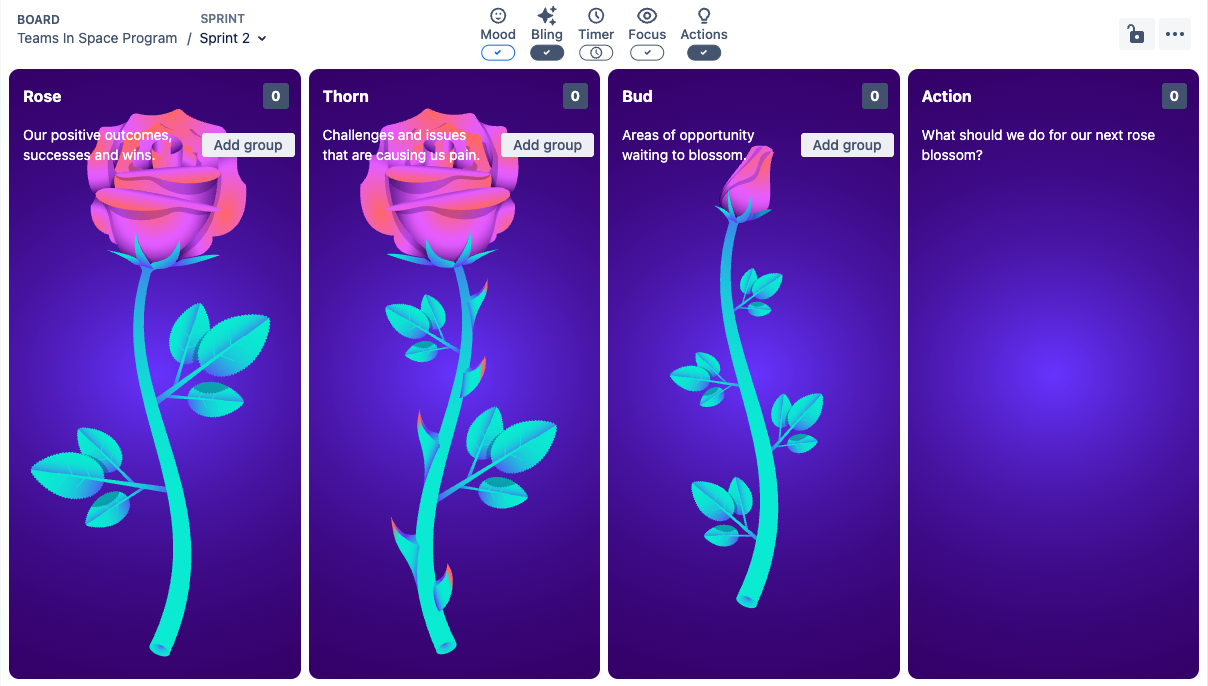
New Retrospectives created on this board will copy the column and permission configuration from the most recent Retrospective.
Changing the number of columns
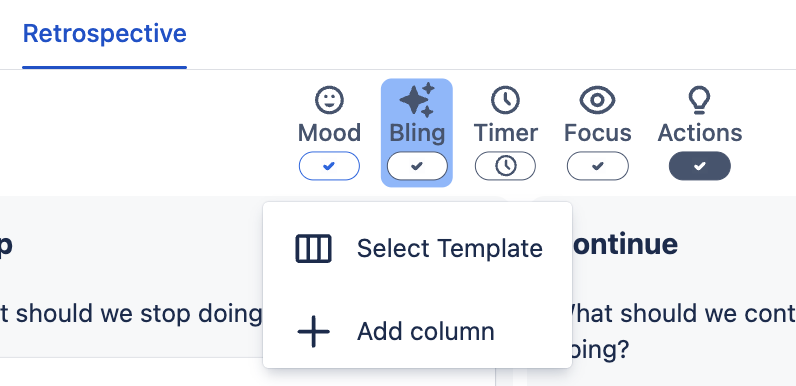
In addition to the Action column, you can configure either 3 or 4 columns. Find the “Add” / “Hide” button in the Bling menu.
Use “Add column” to insert one additional column after the first 3 columns, before the Action column.
By default, the column will be named “Click to add title”.
When the column has been named, the “Add”/”Hide” button will show the column name.
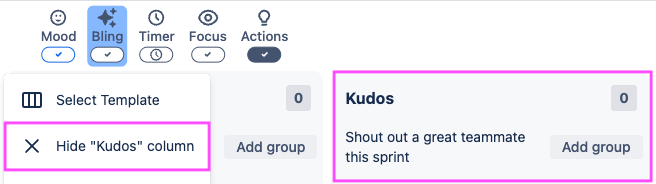
If the column contains items, the items will be hidden but not deleted when the column is hidden.