Navigate to the Roadmap list
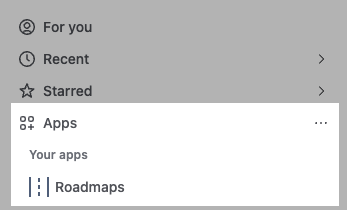
In Jira’s global (left-hand-side) navigation, open the Apps section to find the Roadmaps app link.
If the “Roadmaps” option is missing from the Apps navigation, you might have the classic Easy Agile Roadmaps experience instead.
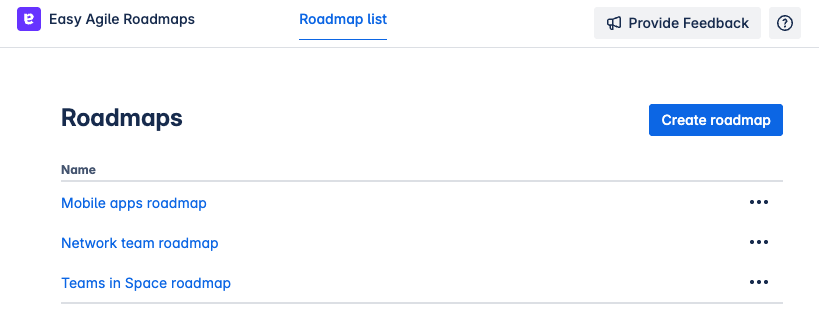
This will take you to the main Roadmap list page. Click on the name of any roadmap to open it.
Create a new roadmap
Find the “Create roadmap” button on the Roadmap list page.
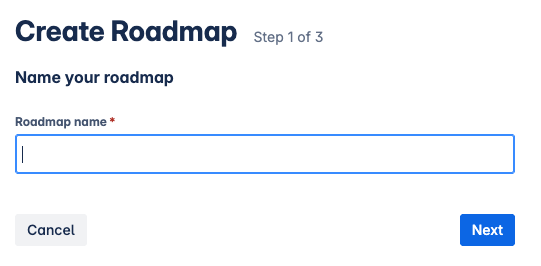
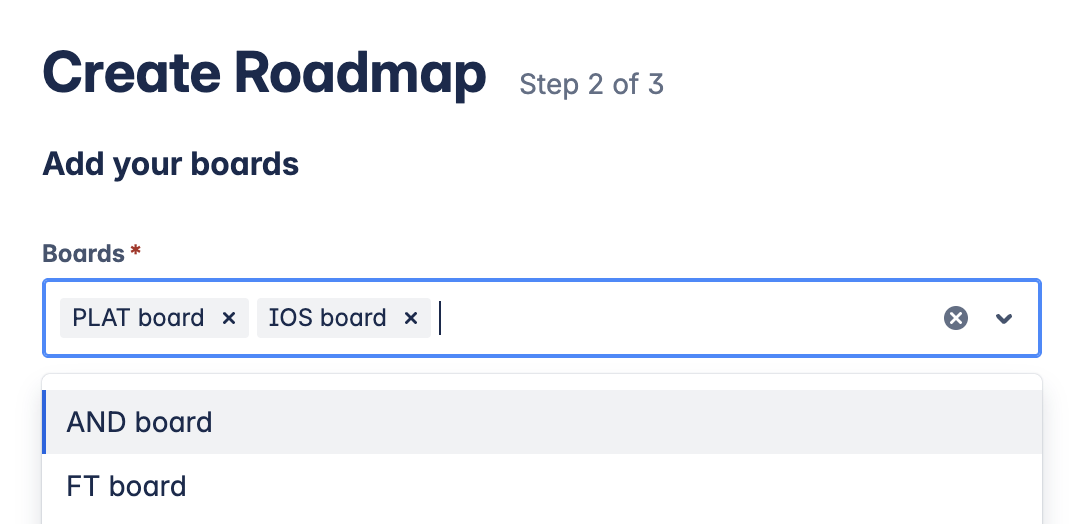
First, add a name for your new Roadmap.
You can change the Roadmap name later.
Next, add one or more Jira boards. Items from these boards can be added to your Roadmap.
You can use:
-
Scrum or kanban boards from company-managed projects
-
Team-managed software projects
You can change the list of boards later.
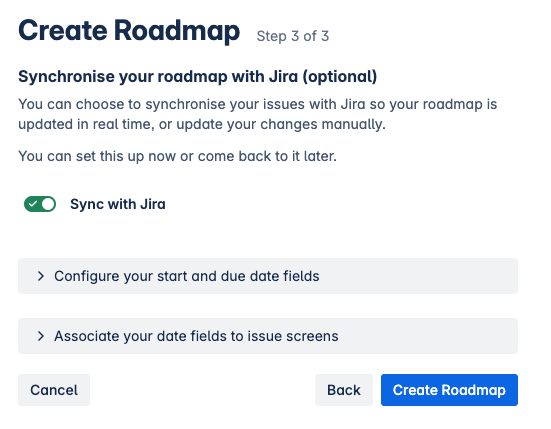
Last, choose whether to sync the Roadmap with Jira.
-
If you disable sync, you can still manually publish changes made on the roadmap.
-
Jira Administrators can configure which date fields are used on your Jira Cloud site.
-
Date fields must be editable on the work item to synchronise dates.
Learn more about synchronizing the roadmap wand dates with Jira.
-
You can enable or disable sync later.
-
Jira Administrators can change the date field configuration at any time.
Edit roadmap configuration
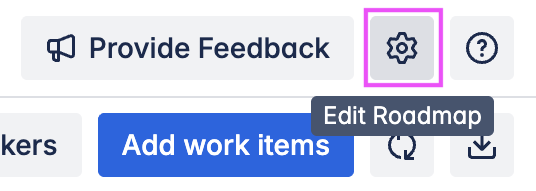
To open Roadmap settings:
-
Open the Roadmap from the Roadmap list.
-
Use the ⚙️ “Edit Roadmap” button in the top right corner to open the “Edit Roadmap menu.
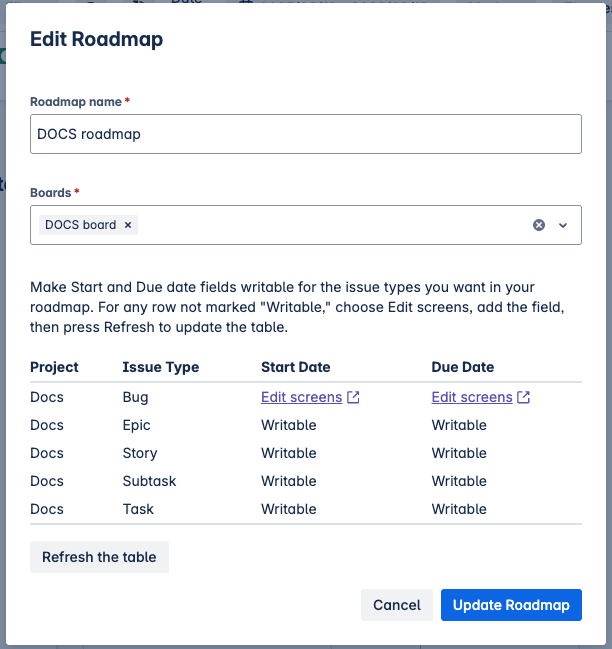
Here, you can edit:
-
The Roadmap name
-
The Jira boards included in the Roadmap
If any date fields are not available, the details will be shown here. A link to the applicable Work item screen configuration in Jira will be shown for any unavailable fields.
-
Users without Jira Administrator permission will have a button to copy the URL.
Edit synchronization settings
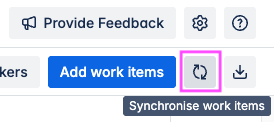
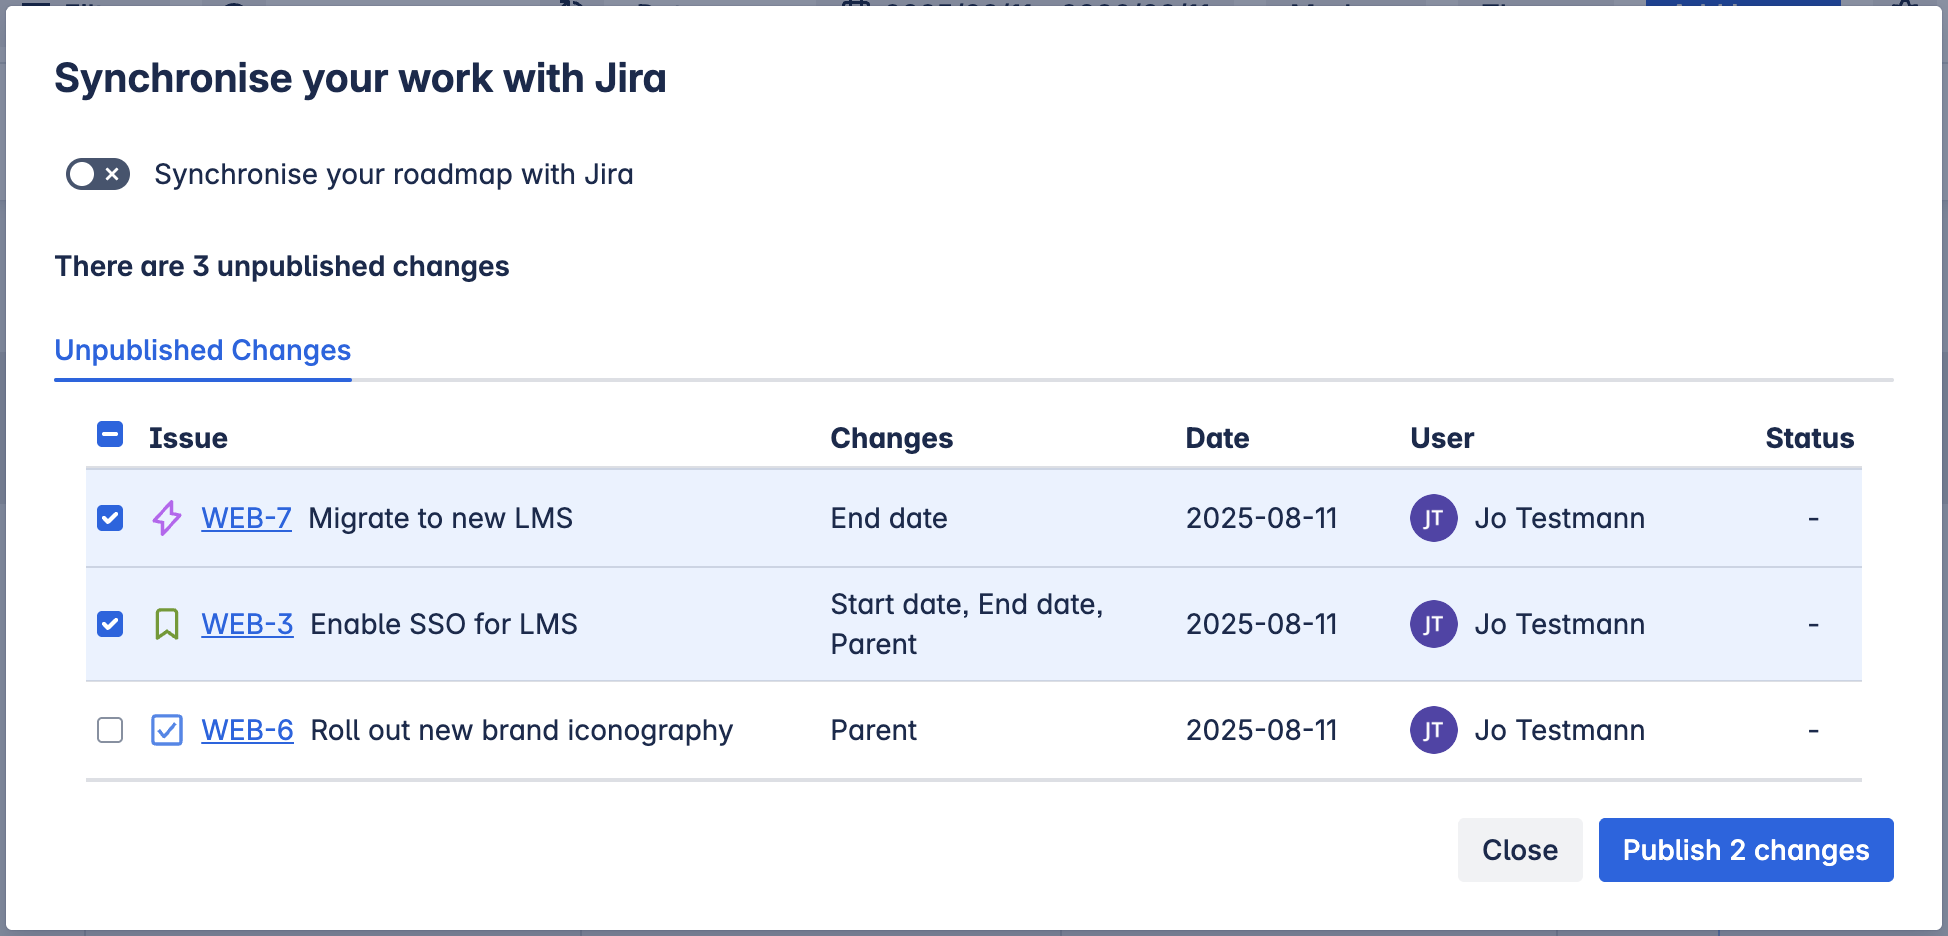
Open the “Synchronise work items” menu from the button in the top right-hand corner to enable or disable automatic synchronization.
If synchronization is disabled, you can use this menu to select changes to publish manually. This will update the items in Jira.
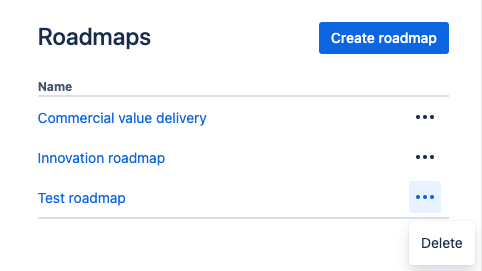
Delete a roadmap
Delete a roadmap on the Roadmap list page by using the “…” option for that roadmap.
You’ll be prompted to enter the name of the Roadmap before permanently deleting it.